Showing posts with label Desperate Housewives Quilt. Show all posts

Sunday, 17 June 2012

Peach Blossom Perfection - A Desperate Housewife Quilt Block

You may not have realised it yet, but it turns out that I'm one of those people who thrives on tight deadlines.. give me unlimited time and I'll procrastinate, but give me a short deadline and I'll surprise even myself! That's not to say that it's my preferred mode of action, it just seems to be the most productive!

Anyway, after completing my "Thifty Housewife" block for Jane's Desperate Housewife's Quilt I asked her how many blocks she still needed to reach her goal of 100 blocks in total.. and with a little help from the Quilt Club Australia girls, Jane was able to close the gap significantly (she has 6 guest blocks this week!). Still, she was one or two blocks shy of the total.. so naturally I offered to whip up another block because I had nothing better to do ;) (Haha, actually it was rather the opposite- this week/weekend is crazy busy, but refer to my earlier comments about tight deadlines!)

I pulled some of my precious Kate Spain "Good Fortune" scraps, my 1" hexie template (available for purchase in Jane's store!) and even fussy cut my fabric! I'll confess that the green print is a generic Spotlight print because none of my green GF scraps were big enough to turn into hexies.

To make one block you will need to cut:
6x hexagons in your "floral" print
4x hexagons in your "leaf" print
Jane's templates are perfect for use with 2.5" strips in addition to fussy cutting.

 Baste your hexagons and whipstitch as laid out above. (If you need information on how to baste & whipstitch hexagons, you should check out the Craftsy BOM - it's free and Amy Gibson from Stitchery Dickory Dock has put together some great video tutorials. Hexagons were in the April tutorial)

Starch & press (really, if you don't starch, please try it!) and then remove basting stitches and paper templates. Press again if desired.

Decide on a background fabric and pin in place. Applique the motif on by machine or by hand as per personal preference. Your block is complete!

 My husband was kind enough to put together a block (digitally) that shows what your block could look like if you took the time and the effort to fussy cut all your hexagons - doesn't it look gorgeous when it's all perfect and symmetrical?


And here is what a 4 block layout could look like! Thank you, husband ♥

Sunday, 10 June 2012

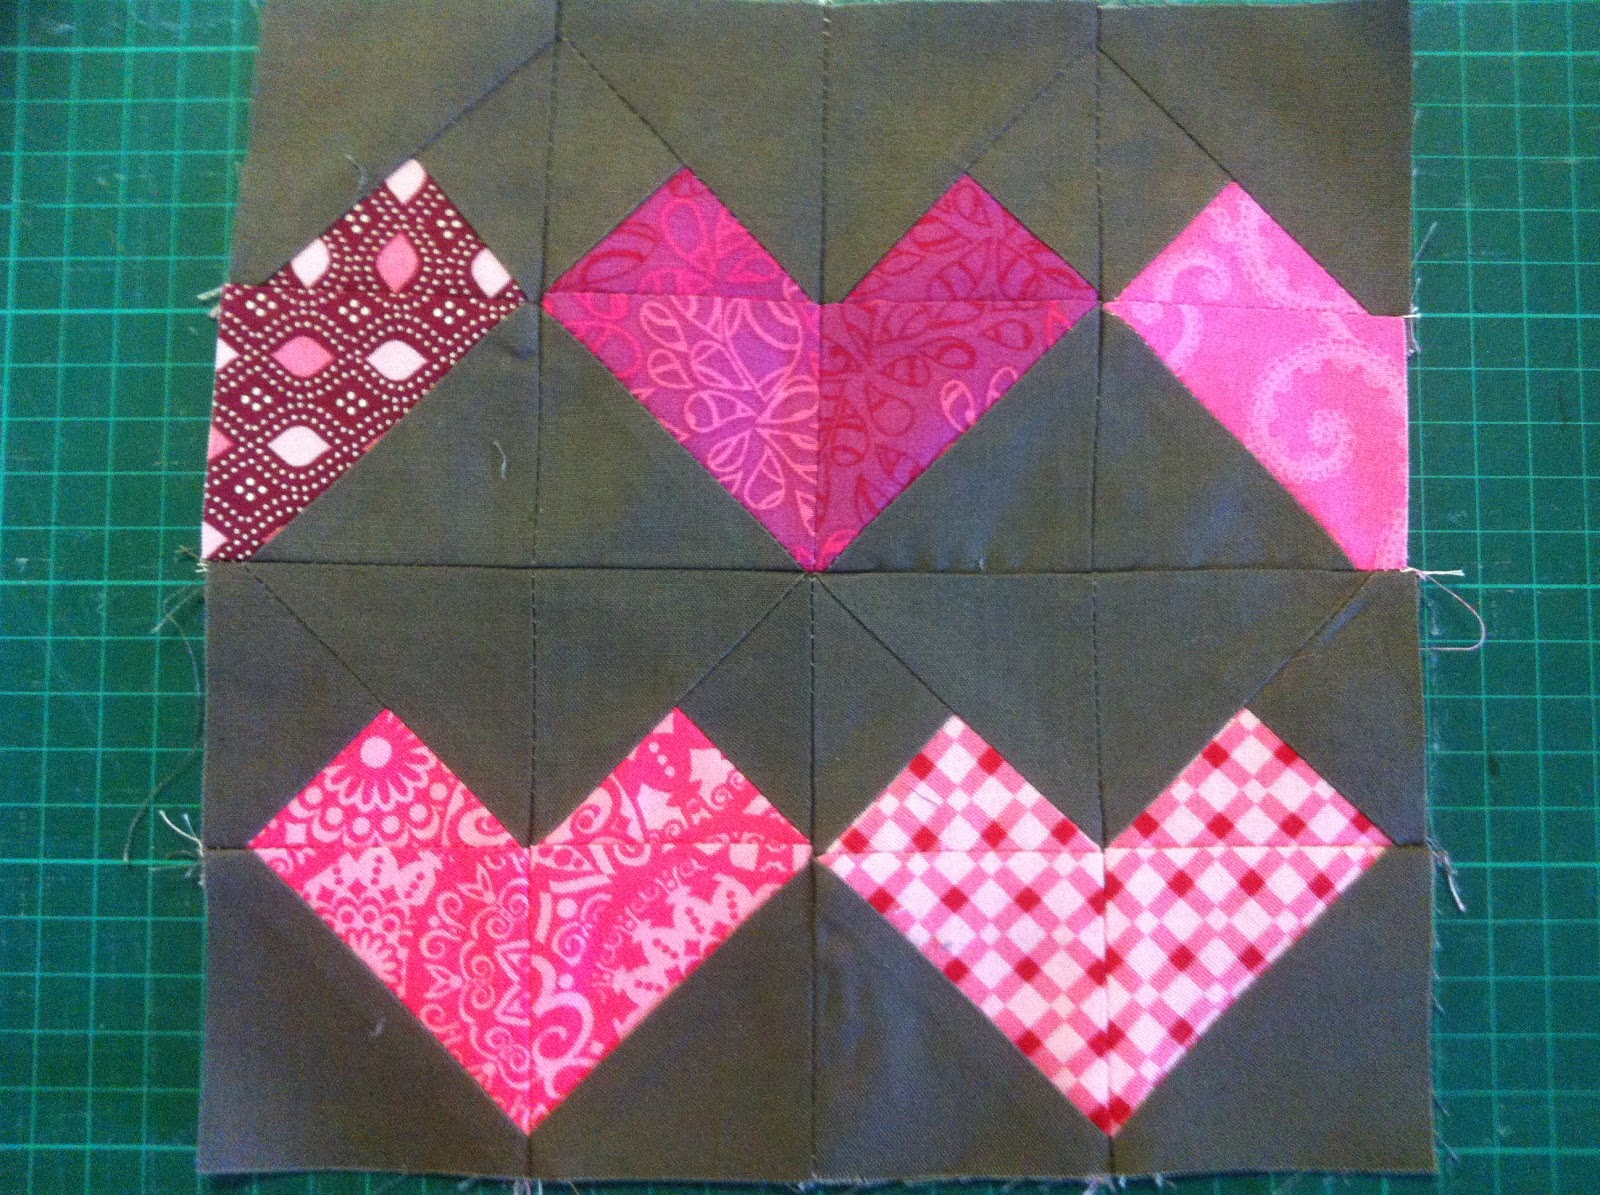
Tutorial: The Thrifty Housewife - A Desperate Housewife's Quilt Block

The lovely Jane of Quiltjane and Want it, Need it, Quilt! fame has spent the last year designing blocks for the Desperate Housewife's Quilt. Every week for the last 50 weeks she has dreamed up a new 8" finished quilt block, and encouraged some of her bloggy friends to help her reach 100 blocks in total.. and now that we're right at the end, it's my turn to show you the kind of Desperate Housewife I am!

I was originally planning to call my block "Heart of the Home", because isn't that really what all wives & mothers are? (Whether they're desperate or not!) But as I was turning my block from a concept into a reality, my inherent thriftiness came to the fore and I decided that I was going to call my block "The Thrifty Housewife"!

So what do you need to make this block?

* 4-5 charm squares in a range of prints (4 if you want the 1/2 hearts the same, 5 if they're different/part of a multiple block layout)
* 1 fat quarter of background fabric
(I turned mine into a 4 block layout that used a total of 16 charms and less than 1m of back ground fabric including backing.)


Step 1. Cut a 3" square from each charm square.


Step 2. With the remaining piece of the charm square, cut diagonally to create a 4" HST. (You will end up with two "chisel" shaped pieces left over - don't throw these out!)


 Step 3: From your back ground fabric, cut 8-10x 3" squares (8 if you're using 4 charm squares, 10 if you're using 5 charms) and 2-3x 4" squares (2 for 4 charms, 3 for 5). Subcut the 4" squares diagonally into 4" HSTs.


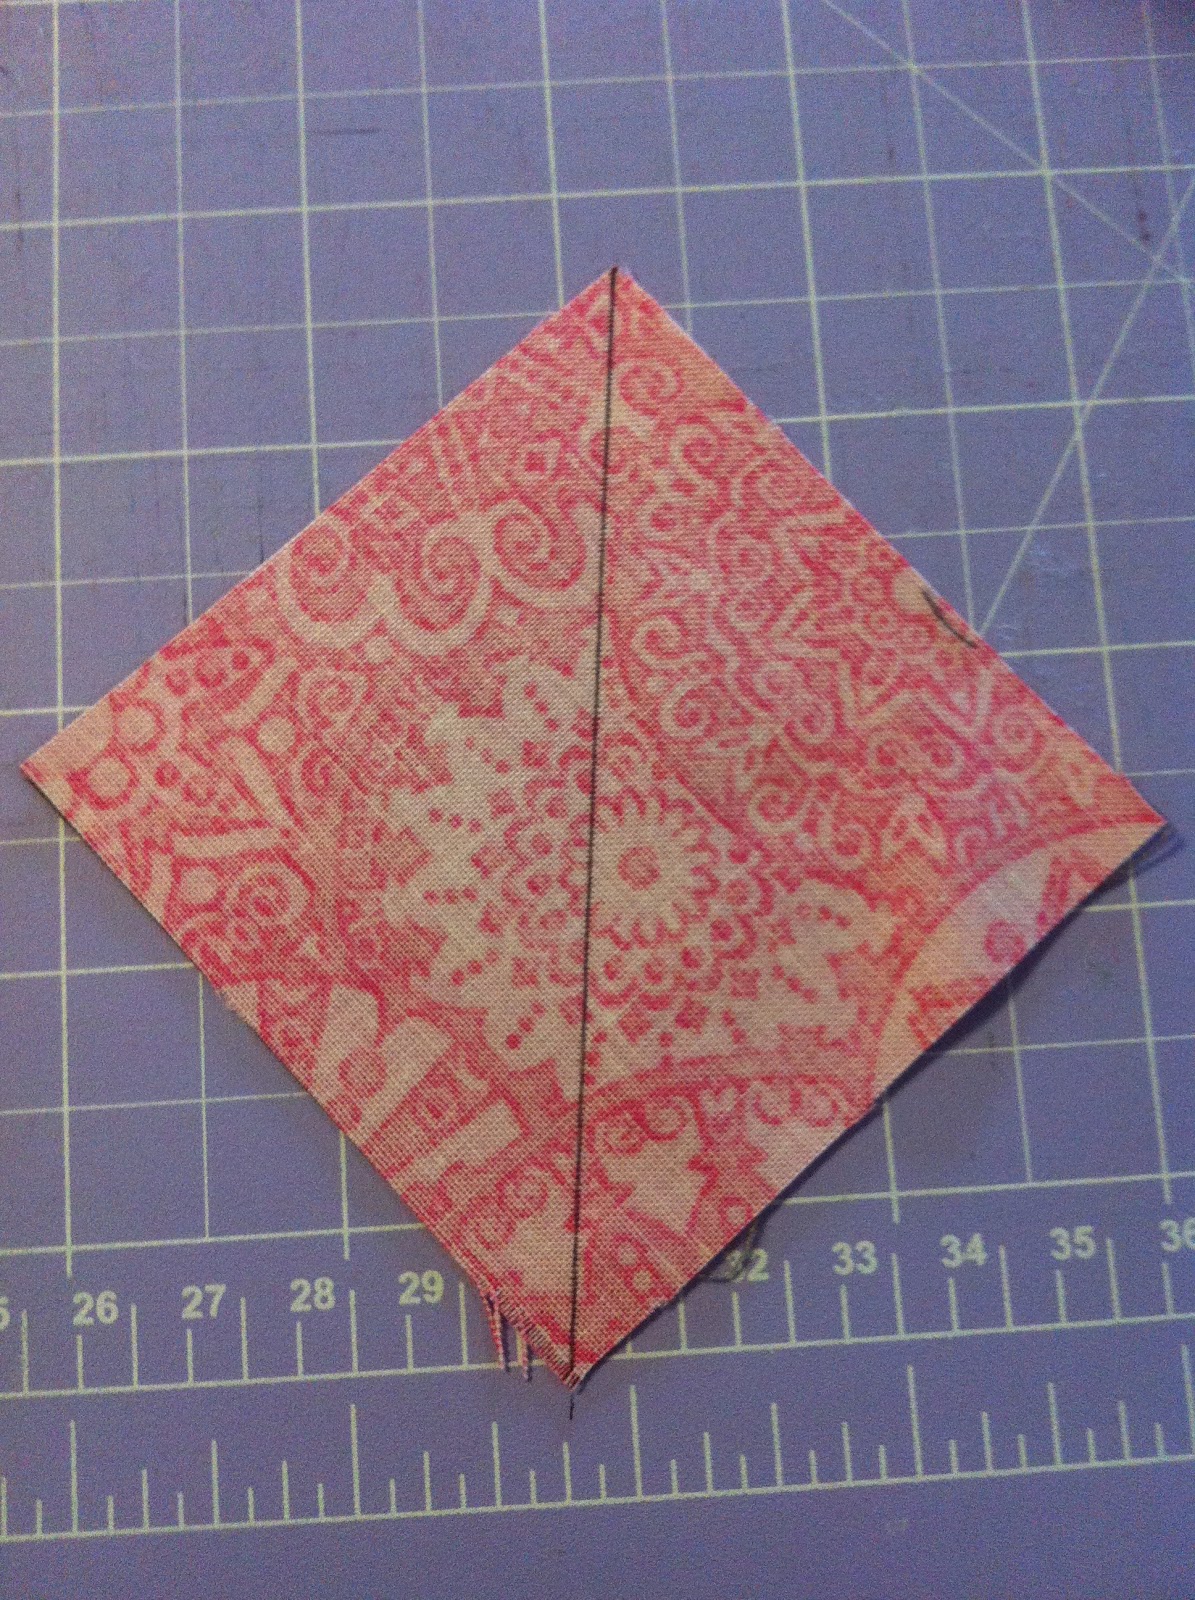
Step 4: Place the 3" print square right sides together with the 3" background square, and draw a line diagonally as shown above.


Step 5: Sew 1/4" from the line on each side.


Step 6: Using your rotary cutter, cut along the drawn line.

Step 7: Place 4" print HST and a 4" background HST right sides together and sew using 1/4" seam allowance. (not shown)


Step 8: Press all HSTs open.


Step 9: Trim the two smaller blocks down to 2.5" square, matching the diagonal line to the 45 degree mark on your ruler.


Step 10: Trim the larger block to 3" square, matching the diagonal line to the 45 degree mark on your ruler.


Step 11: Place the 3" block and the remaining 3" background square right sides together, and mark a line diagonally as shown.


Step 12: Sew 1/4" on either side of the line and then cut along marked line. Press open.


Step 13: Trim blocks down to 2.5" square, aligning 45 degree line, and tip of triangle at approx 1.25" (as shown).


Step 14: Lay out your pieces as shown. This creates 1x heart which is 1/4 of the total block.


Step 15: Sew pieces as shown to create two halves of the heart. Press.


Step 16: Lay out your hearts, you should have a total of 3 full hearts (1 top row, 2 bottom row) and 2 half hearts (top row). Join as shown so that you have 4x squares. Press.


Step 17: Join the two top blocks, and the two bottom blocks to form two strips. Press. 


Step 18: Sew the top row and the bottom row together, press. Your block is now complete!


Join two or more blocks together horizontally to create a chain of hearts (would make a lovely border! Or a mug rug, or a table runner..)

Or join four or more blocks together to make a table topper, doll or cot quilt!

And remember that part about saving the "chisel" shaped charm square off cuts? That's where the real thrifty housewife part comes in! You could piece them together to create a separate mug rug/mini quilt or use it to to back your Thrifty Housewife block - either way, you'll maximise the use of your charm squares and end up with something cute and fun as an extra bonus :)
Related Posts Plugin for WordPress, Blogger...

ShareThis

Online Quilting Class